1. Chuẩn bị
Bước 1: Cập nhật hệ thống, tắt sendmail và hệ thống bảo mật
yum update
/etc/init.d/sendmail stop
chkconfig sendmail off
chkcon fig iptables off
Bước 2: cài đặt những gói cần thiết
yum install sysstat gmp libidn libstdc++ sqlite
Bước 3: Cấu hình hostname và DNS
# Do not remove the following line, or various programs
# that require network functionality will fail.
127.0.0.1 localhost.localdomain localhost
192.168.137.2 mail.vinastar.net mail
::1 localhost6.localdomain6 localhost6
Ngoài Zimbra Server, chúng ta còn sử dụng server như là một DNS Server.
+ Tạo file /var/named/chroot/var/named/Vinastar Ltd.vn
;
; Addresses and other host information.
;
@ IN SOA Vinastar Ltd.vn. hostmaster.Vinastar Ltd.vn. (
2011030801 ; Serial
43200 ; Refresh
3600 ; Retry
3600000 ; Expire
2592000 ) ; Minimum
; Define the nameservers and the mail servers
IN NS ns.Vinastar Ltd.vn.
IN A 192.168.137.2
IN MX 10 mail.Vinastar Ltd.vn.
mail IN A 192.168.137.2
ns IN A 192.168.137.2
+ Tạo file /var/named/chroot/etc/named.conf
options {
directory "/var/named";
dump-file "/var/named/data/cache_dump.db";
statistics-file "/var/named/data/named_stats.txt";
forwarders { 8.8.8.8; };
};
include "/etc/rndc.key";
// We are the master server for mydomain.com
zone "Vinastar Ltd.vn" {
type master;
file "kenhgiaiphap.vn";
};
Bước 4: Khởi động DNS và kiểm tra
/etc/init.d/named start
chkconfig named on
nslookup mail.Vinastar Ltd.vn
Server: 10.10.10.20
Address: 10.10.10.20#53
2. Cài đặt Zimbra
Sau khi tải phiên bản cài đặt Zimbra Collaboration Suite từ trang chủ về thì bắt đầu giải nén và cài đặt.
tar zxf zcs-7.1.0_GA_3140.RHEL5.20110329150824.tgz
cd zcs-7.1.0_GA_3140.RHEL5.20110329150824.tgz
./install.sh --platform-override
Quá trình được cài đặt theo mặc định. Sau khi cấu hình xong thì tiến hành đặt password cho Admin.
Main menu
1) Common Configuration:
2) zimbra-ldap: Enabled
3) zimbra-store: Enabled
+Create Admin User: yes
+Admin user to create: admin@Vinastar Ltd.vn
******* +Admin Password UNSET
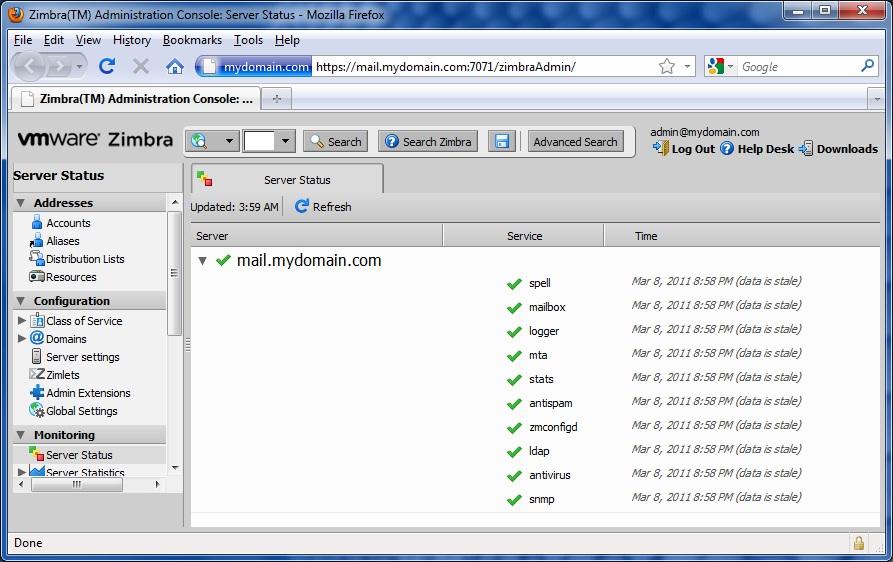
Quá trình cài đặt hòan tất. Zimbra Server sẵn sàng đưa vào sử dụng. Kiểm tra bằng các vào giao diện web và gõ địa chỉ ip hoặc tên miền với cổng 7071.
Theo Vinastar Ltd (Nguồn Zimbra)
